

Dermaplaning is a popular skincare treatment that exfoliates your skin and removes peach fuzz, also known as vellus hair. While professional dermaplaning can be done at a dermatologist’s office, many people are turning to at-home options for convenience and cost-effectiveness. In this guide, we’ll walk you through the process of dermaplaning at home, helping you achieve smooth, glowing skin while maintaining your skin’s health.
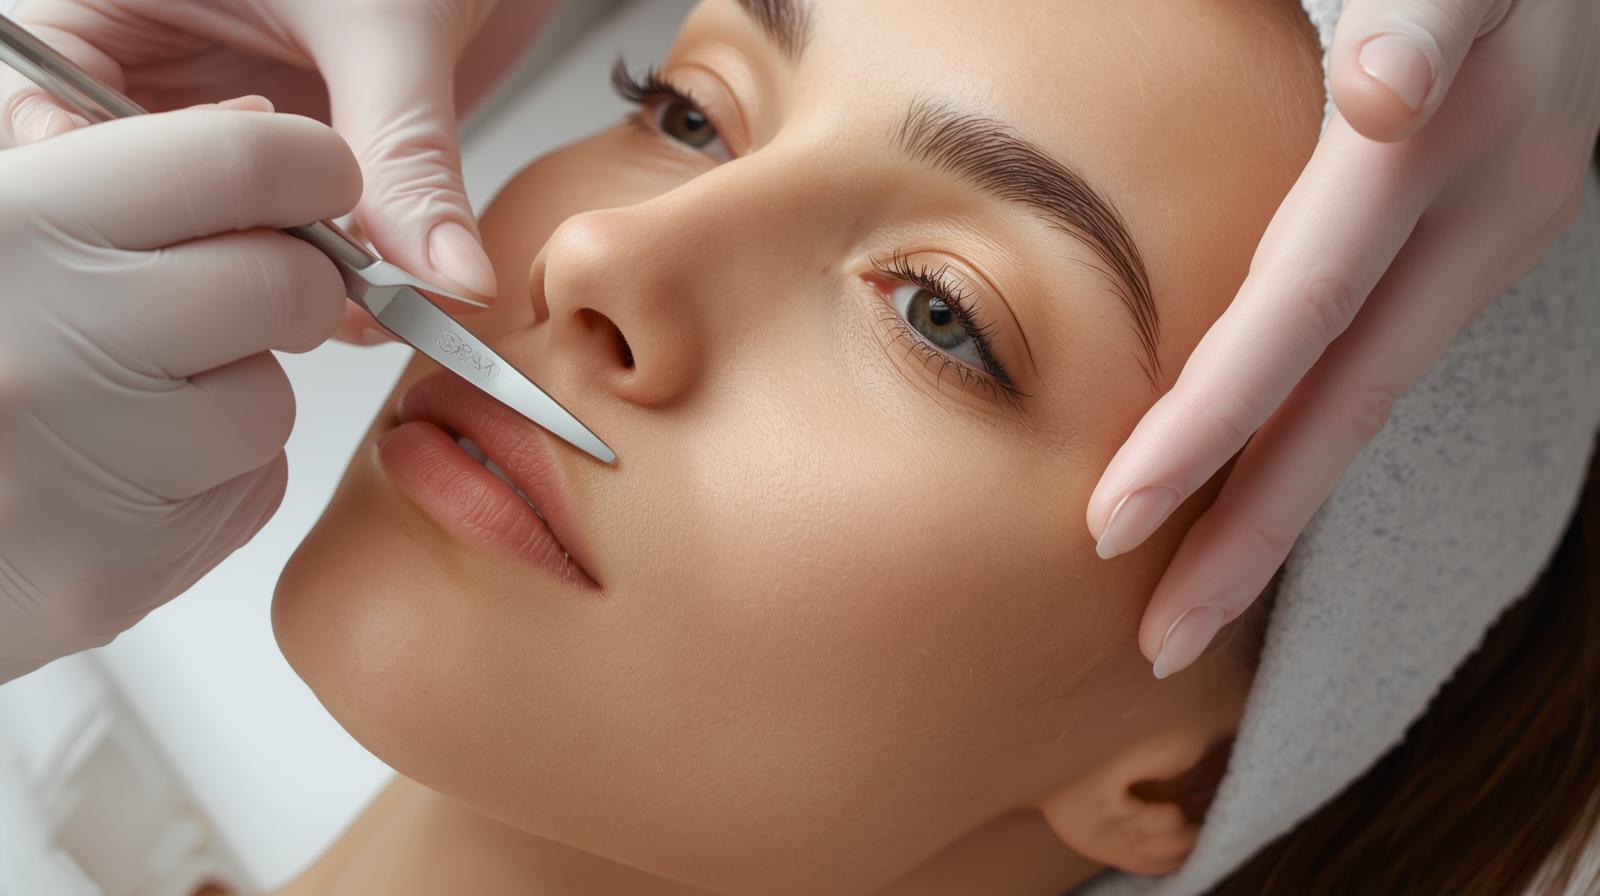
Dermaplaning is a non-invasive procedure that uses a sterile surgical scalpel to gently scrape away dead skin cells and fine facial hair. This process not only exfoliates the skin but also enhances the absorption of skincare products, leaving you with a radiant complexion.
- Exfoliation: Removes dead skin cells to reveal smoother, brighter skin.
- Facial Hair Removal: Gets rid of peach fuzz for a more polished look.
- Improved Product Absorption: Enhances the effectiveness of serums and creams.
- Makeup Application: Creates a flawless canvas for makeup.
Before you begin dermaplaning, it’s important to prepare your skin properly to ensure the best results.
You’ll need the following tools and products for a successful at-home dermaplaning session:
- A clean, sterile dermaplaning tool or facial razor
- Gentle cleanser
- Toner
- Moisturizer
- Sunscreen (broad-spectrum SPF 30 or higher)
Start by washing your face with a gentle cleanser to remove makeup, dirt, and oil. Pat your face dry with a clean towel. This ensures that your skin is a clean canvas for the dermaplaning process.
Find a well-lit area with a mirror where you can comfortably perform dermaplaning. Ensure your hands and tools are clean to prevent any skin irritation or infection.
Hold your dermaplaning tool at a 45-degree angle against your skin. It’s essential to maintain this angle to effectively and safely remove dead skin cells and hair.
Gently pull your skin taut with one hand and use the other hand to make short, light strokes with the dermaplaning tool. Begin at the top of your cheekbone and work downward. Avoid applying too much pressure, as this can irritate your skin.
- Cheeks: Start from the top of the cheekbone, moving down toward the jawline.
- Forehead: Begin at the center and move outward.
- Chin: Glide the tool from the center out towards the jawline.
- Nose: Be cautious around the curves and work from the bridge outward.
Steer clear of sensitive areas such as the eyelids, lips, and nose bridge to prevent irritation or injury.
Once you’ve finished dermaplaning, rinse your face with lukewarm water and gently pat dry. Follow up with a toner to help close pores and remove any remaining debris.
Apply a hydrating moisturizer to soothe and nourish your skin. Finally, don’t forget to apply a broad-spectrum sunscreen with at least SPF 30, as your skin will be more sensitive to sun exposure after dermaplaning.
Proper aftercare is crucial to maintain the results of your dermaplaning session.
Keep your skin well-hydrated by using a moisturizer that suits your skin type. Look for products with hyaluronic acid or glycerin for added moisture.
For the next 24 to 48 hours, avoid using harsh exfoliants or active ingredients such as retinoids and alpha hydroxy acids (AHAs) to prevent irritation.
Protect your skin from the sun by reapplying sunscreen throughout the day. Consider wearing a wide-brimmed hat for extra coverage when spending extended periods outdoors.
Dermaplaning is generally safe for most skin types, but individuals with active acne, eczema, or rosacea should consult a dermatologist before attempting dermaplaning at home.
For optimal results, dermaplaning can be done every 3 to 4 weeks. Overdoing it can lead to skin irritation or damage.
No, dermaplaning does not change the thickness or color of your hair. The hair will grow back with the same texture.
Dermaplaning at home can be an effective way to achieve smooth, radiant skin without the need for a professional appointment. By following these steps and taking proper care of your skin post-treatment, you can enjoy the benefits of dermaplaning safely and effectively. Remember to listen to your skin and adjust your routine as needed to maintain healthy and beautiful skin.

