

If you have ever hesitated to try a yoga class because you cannot touch your toes, you have already identified the exact reason you should start. The belief that flexibility is required before beginning yoga is one of the most common misconceptions. In reality, yoga was created for people who feel stiff, tight, or limited in their movement.
The true purpose of mobility is function rather than performance. In yoga, the physical positions are called asanas. These poses serve a practical purpose beyond appearing graceful. Instead of forcing your body into extreme shapes, the movements are designed to gradually release tension built up from everyday activities such as sitting at a desk or carrying heavy items.
In addition to physical relief, yoga can provide a powerful mental reset. Research consistently shows that combining slow breathing with gentle movement helps regulate cortisol, the body’s primary stress hormone. This connection demonstrates how mindfulness and movement support overall health. A simple stretch can become a signal that encourages the nervous system to relax.
You do not need expensive equipment or long practice sessions to begin seeing benefits. Beginner yoga focuses on safe and practical techniques that meet you where you are today. The practice is accessible to anyone who is willing to move gently and breathe with awareness.
What You Actually Need: Essential Gear Without the Wellness Price Tag
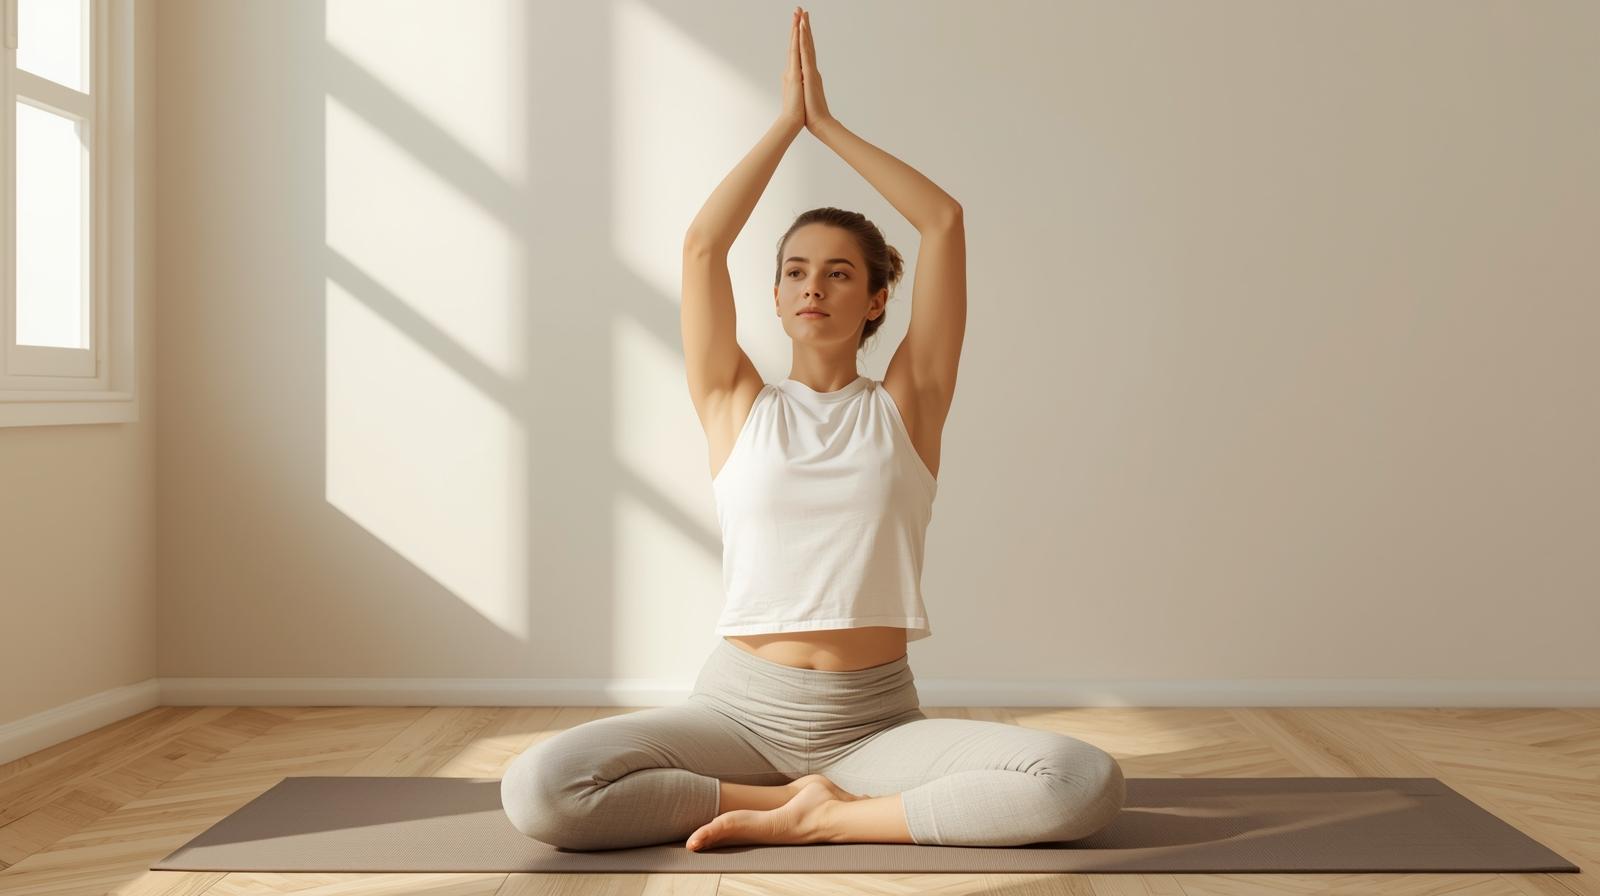
Entering a yoga studio or browsing yoga products online can sometimes feel overwhelming. Many advertisements suggest that specialized clothing and accessories are necessary. In reality, effective practice requires very little equipment.
The only essential item is a non-slip yoga mat. A mat provides traction so your hands and feet do not slide during poses. It also cushions your joints when practicing on hard floors.
Comfortable clothing is the next important consideration. Choose garments that allow free movement. If you can sit cross-legged comfortably in your clothes, they will work well for yoga practice.
Accessories such as yoga blocks and straps are optional but useful tools. These items are not signs of weakness or lack of flexibility. Instead, they help adapt each pose to your body.
A yoga block helps bring the floor closer to your hands during poses where flexibility might limit your reach. This allows you to maintain proper posture without straining.
A strap works like an extension of your arms. It helps you reach your feet during stretches without forcing your body into uncomfortable positions.
If you want to start practicing at home without spending extra money, everyday household items can work just as well. A sturdy hardcover book can replace a yoga block. A bathrobe belt or long towel can serve as a yoga strap.
Wear breathable clothing that stays secure when bending forward or stretching. Simple, comfortable layers are often the best option.
Once your space is prepared, you can shift your focus to one of the most important aspects of yoga practice: breathing.
Harnessing Your Internal Metronome: How Breathing Unlocks Every Pose
Many people unconsciously hold their breath while concentrating or lifting something heavy. Yoga encourages the opposite approach. Breath becomes the foundation that supports every movement.
In yoga, controlled breathing is known as Pranayama. It acts as a signal that tells the nervous system to relax. While many workouts rely on intensity and adrenaline, yoga breathing techniques activate the body’s natural “rest and digest” response.
Think of your breath as an internal rhythm that guides movement. When breathing remains steady and controlled, the body feels safe enough to move deeper into stretches and maintain balance.
A helpful technique for beginners is the three-part breath. Imagine filling your torso like a glass of water. As you inhale, expand your belly first, then your ribcage, and finally your chest.
When you exhale, release the breath in reverse order. First soften the chest, then the ribs, and finally draw the navel gently toward the spine.
This wave-like breathing pattern naturally connects with movement. In many poses you inhale to lift or lengthen the body and exhale when folding, twisting, or lowering.
Your breathing pattern also provides a useful measure of effort. If your breath becomes strained or uneven, it is a sign that the pose may be too intense. Instead of forcing the position, ease slightly until your breathing becomes smooth again.
Rather than timing poses with a clock, try counting five calm breaths. This approach allows you to build endurance while maintaining stability and comfort.
Finding Your Ground: Why Tadasana and Warrior I Build Functional Strength
Tadasana, commonly called Mountain Pose, may appear simple. At first glance it looks like standing still. However, it is one of the most important poses in yoga because it teaches proper alignment.
In Mountain Pose, you stand with both feet firmly grounded and your weight evenly distributed. The thighs gently engage while the chest lifts and the shoulders relax.
This posture helps correct common habits such as leaning into one hip or rounding the shoulders forward. Practicing Mountain Pose encourages a neutral spine and balanced posture.
From this stable foundation, you can move into Warrior I, known in Sanskrit as Virabhadrasana I. This pose transforms the act of standing into a powerful strengthening exercise.
Warrior I strengthens the legs, especially the quadriceps and hamstrings. It also opens the hips, which often become tight after long periods of sitting.
To practice the pose safely, step one foot back about three to four feet and angle the back toes slightly outward. Bend the front knee so it stacks directly above the ankle.
Keep your hips and chest facing forward. This alignment activates the core muscles and protects the lower back.
Finally, raise your arms overhead while keeping your shoulders relaxed away from your ears.
These standing poses build strength and stability that support more complex movements later in practice.
Mastering the Downward Facing Dog: Proper Alignment for Stiff Shoulders
Downward Facing Dog is one of the most recognizable yoga poses. In this position, the body forms an inverted V shape with the hips lifted toward the ceiling.
Although it is sometimes described as a resting pose, beginners often find it challenging. Instead of focusing on achieving a perfect shape, begin by concentrating on pushing the floor away with your hands.
This action activates the shoulders and arms while lengthening the spine.
A common mistake is trying to force the heels down to the floor. For many beginners, tight hamstrings make this difficult. Keeping a gentle bend in the knees allows the spine to stay long and comfortable.
The most important goal is maintaining a neutral spine rather than straight legs.
To reduce wrist strain, spread your fingers wide and press through the knuckles and fingertips instead of placing all the weight into the heels of your hands. This distributes the pressure across the entire hand and engages the forearms and shoulders.
With regular practice, Downward Facing Dog becomes an effective stretch for the back, hamstrings, and shoulders.
Relieving the Desk Slouch: Essential Floor Poses for Spine Health
After practicing standing poses, lowering to the floor shifts the focus toward spinal mobility. Many people spend long hours sitting, which places the spine in a forward-rounded position.
Cat and Cow poses help counteract this pattern through gentle spinal movement.
Begin in a tabletop position with your hands under your shoulders and your knees under your hips.
As you inhale, drop your belly toward the floor while lifting your chest and slightly raising your gaze. This creates Cow Pose.
As you exhale, round your spine toward the ceiling and tuck your chin toward your chest to form Cat Pose.
Moving slowly between these two shapes helps restore mobility to the spine and releases tension in the back.
Another restorative pose is Child’s Pose. From the tabletop position, shift your hips back toward your heels and rest your forehead on the mat.
Child’s Pose allows the body to relax while gently stretching the lower back and hips. It is often used as a resting posture during yoga practice.
Avoiding the No Pain, No Gain Trap: How to Practice Safely
Yoga follows a very different philosophy from many high-intensity workouts. The goal is not to push through pain but to move with awareness.
During practice you should look for a moderate stretch sensation in the muscles, but never sharp pain near the joints.
If you experience stabbing pain, tingling, or pinching sensations, it is important to stop and ease out of the pose.
Breathing again becomes a useful safety signal. If you cannot maintain smooth breathing for three cycles, you may have moved beyond your comfortable range.
For most poses, holding the position for five to ten steady breaths is enough to experience benefits without forcing the body.
This gentle approach allows muscles to gradually release tension instead of being pushed too far.
Your First 10-Minute Sequence: Linking Poses with Sun Salutations
Sun Salutations are a sequence of movements that link breath and motion together. The practice helps warm the body, increase circulation, and prepare the muscles for deeper stretching.
Beginners can start with a simplified version of the sequence.
Begin in Mountain Pose at the top of your mat with arms relaxed by your sides.
Exhale and fold forward, bending your knees if necessary to protect the lower back.
Inhale and lift halfway with your hands resting on your shins while lengthening the spine.
Step one foot back into a gentle low lunge and lower the back knee to the floor.
Place your hands on the mat and move into Downward Facing Dog with your hips lifted high.
Finally, walk your feet forward and slowly rise back to standing.
Practicing this short flow for about ten minutes a few times each week can gradually improve strength and flexibility.
Starting Your Journey: Choosing a Style and Building Consistency
Once you begin exploring yoga, you may notice many different styles. Some classes focus on flowing movements, while others emphasize slow stretching and relaxation.
More active styles guide you through continuous movement linked with breathing. Slower styles focus on holding poses for longer periods to encourage deeper stretching and recovery.
Regardless of the style you choose, most yoga sessions end with Savasana, also known as Corpse Pose. This final posture allows the body to absorb the benefits of the practice.
During Savasana you lie comfortably on your back and allow the body to completely relax. Although it appears simple, this quiet moment helps calm the nervous system and integrate the work you have done.
For beginners, the most important goal is consistency rather than perfection. Practicing for ten minutes a few times a week is far more effective than attempting long sessions that become difficult to maintain.
By showing up regularly and listening to your body, you gradually build strength, flexibility, and greater awareness of how your body moves.
The first step is simply beginning. Once you roll out your mat and take your first breath, you have already started the journey.

