

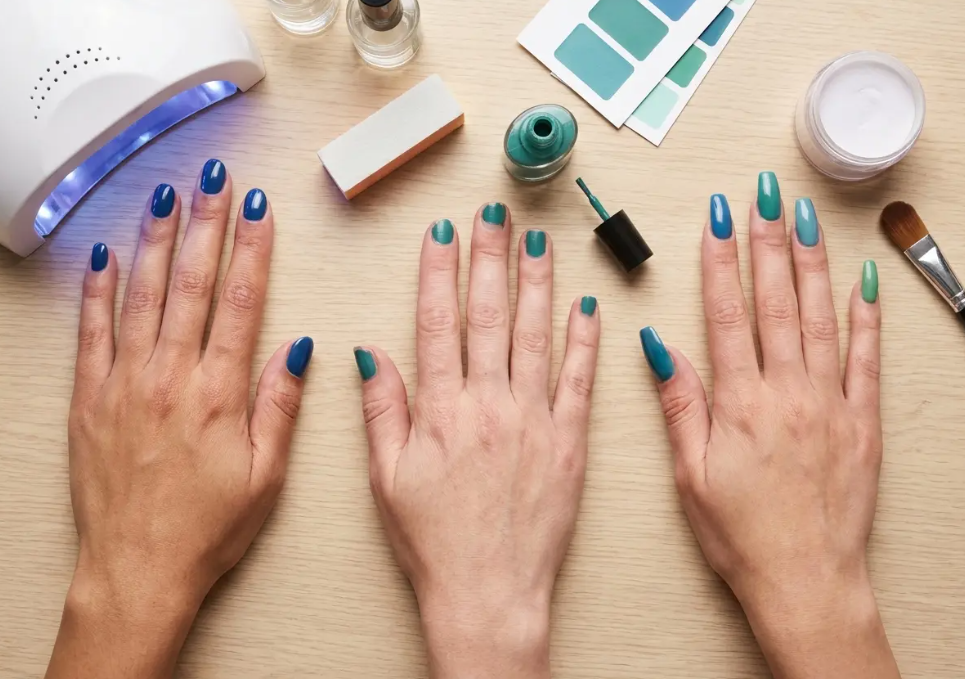
Gel nails have fundamentally changed the beauty industry by offering a durable alternative to standard polish. Millions of people visit salons every week to achieve that glossy, chip-resistant finish that lasts for weeks. Understanding the chemistry and application process of a professional gel manicure helps you make better decisions about your personal nail care routines and long-term nail health.
Traditional nail polish dries through the simple evaporation of chemical solvents over a long period. Gel nails require a completely different chemical process called polymerization to harden and set the colored gel polish. This rapid reaction happens exclusively when the gel formula receives exposure to specific wavelengths of concentrated light from a UV nail lamp or LED device.
The liquid gel contains special photoinitiators that absorb the energy emitted from a professional curing lamp. Once these molecules absorb the light energy, they bond together rapidly to form a solid, durable polymer network. This immediate hardening creates the signature glossy shell that makes a professional gel manicure incredibly resilient against daily wear.
How UV Nail Lamp and LED Curing Works for Gel Polish
Salons typically use either a UV nail lamp or light-emitting diode lamps to cure the polish onto your natural nail. Ultraviolet lamps emit a broader spectrum of light and generally take about two minutes to cure each layer completely. Light-emitting diode lamps target specific photoinitiators with a narrower light spectrum, curing the gel polish in just thirty seconds.
- Polymerization creates the hard, durable finish characteristic of a professional gel manicure.
- Photoinitiators in the liquid gel polish react specifically to targeted light exposure from a UV nail lamp.
- LED lamps cure gel polish significantly faster than traditional ultraviolet light sources.
Comparing Gel Nails vs. Traditional Polish and Acrylic Extensions
Consumers often confuse gel manicures with acrylic extensions, though these services rely on entirely different chemical applications. Acrylics combine a liquid monomer with a powder polymer to create a hard protective layer over the natural nail. Gel polish comes premixed in a bottle and requires light activation to harden properly onto the nail bed for long-lasting nails.
A standard manicure might start chipping within three days of application, frustrating many busy professionals constantly. Gel nails provide a chip-free experience that typically lasts two to three weeks with proper daily care. This extended wear time makes the higher initial cost worthwhile for people who value a consistently polished appearance.
Apply cuticle oil daily to extend the life of your gel manicure significantly. Hydrated nails are far less likely to curl away from the polish, preventing premature lifting at the edges.
The Financial Investment: Professional Gel Manicure Salon Costs
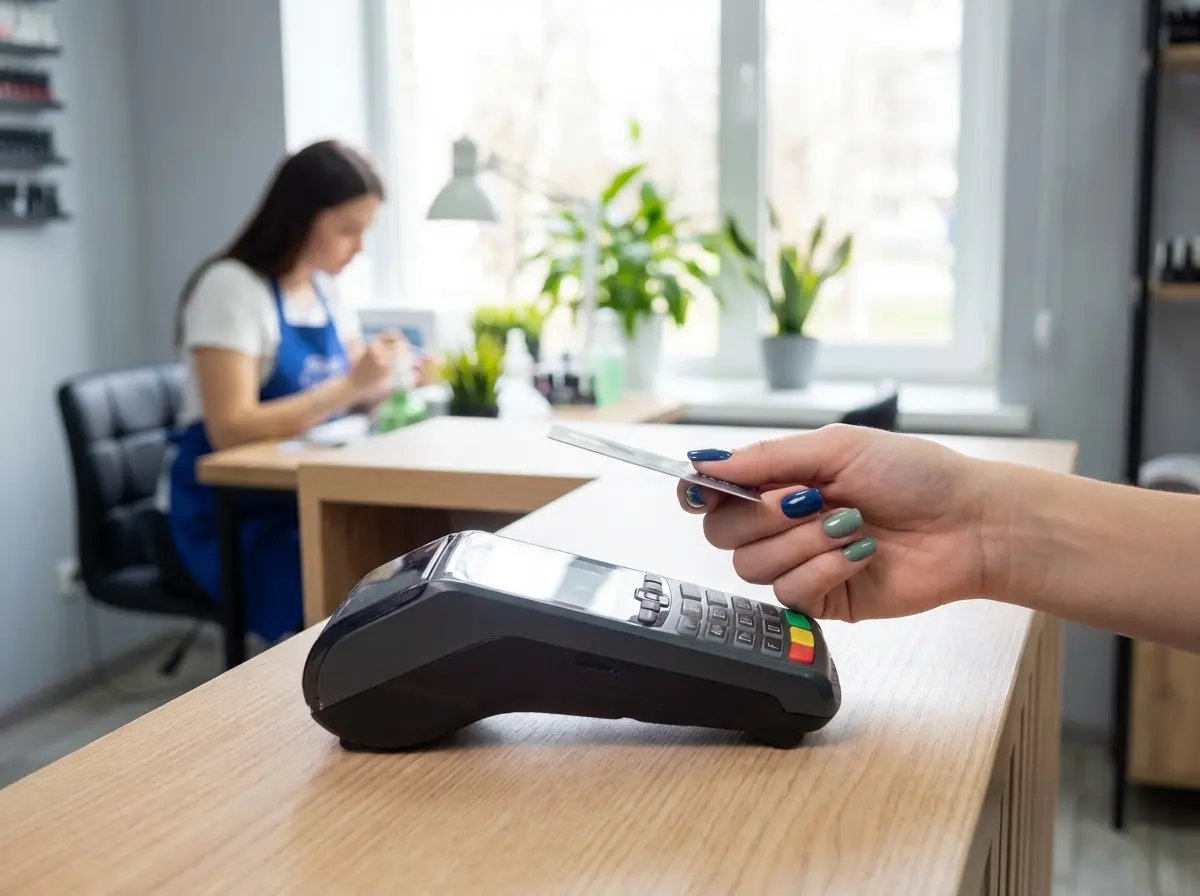
Are you prepared to maintain the financial commitment of regular bi-weekly salon visits? Budgeting for these services requires an understanding of regional price variations across the United States. A basic gel manicure typically ranges from thirty-five to forty-five dollars in most suburban areas, while major metropolitan centers often see prices exceeding sixty dollars.
You must also factor in the cost of professional removal and standard gratuity for your nail technician. Adding custom nail art, French tips, or specialized builder gels will increase your total appointment cost significantly. According to industry data, regular clients spend between six hundred and one thousand dollars annually on maintenance.
Many beauty enthusiasts purchase DIY gel nails kits to reduce these recurring expenses over the long term. While the initial equipment costs around one hundred dollars, the per-manicure price drops to just a few dollars. However, achieving salon-quality nails at home requires dedicated practice and a solid understanding of proper application techniques.
How to Apply DIY Gel Nails and At-Home Gel Polish
Creating a flawless gel manicure at home demands careful preparation and strict attention to detail. Skipping crucial prep steps leads directly to peeling, bubbling, and frustratingly short wear times for your polish. Gather your rubbing alcohol, lint-free wipes, base coat, color, top coat, and curing lamp before beginning the process.
How to Achieve a Perfect Home Gel Manicure
Prepare Your Natural Nails for Gel Polish
Gently push back your cuticles and lightly buff the shine off your entire natural nail plate.
Apply the Gel Base Coat
Paint a very thin layer of base gel, avoiding the cuticle area entirely to prevent premature lifting.
Add Gel Polish Color and Top Coat
Apply two thin layers of color, curing after each layer, then finish with a protective top coat.
The Safest Gel Nail Removal Process for Natural Nails
Improper removal stands as the leading cause of nail damage associated with commercial gel products. Peeling the polish off pulls away the uppermost keratin layers of your natural nail plate. This aggressive action leaves your nails dangerously thin, highly sensitive, and extremely prone to painful breakage.
Many busy individuals lose patience during the lengthy soaking process and resort to picking at loose edges. Rushing this critical gel nail removal step severely compromises the long-term health of your keratin structure for months. You must allow the chemical solvents adequate time to completely break down the hardened polymer network.
Never forcefully scrape or pry gel polish off your natural nails under any circumstances. If the polish resists gentle removal with a wooden stick, it needs more time to soak in pure acetone.
Avoiding Nail Bed Damage During Gel Polish Removal
Professional nail technicians use a pure acetone soak to safely dissolve the hardened polymer bonds. You can replicate this proven method at home by saturating a cotton ball in acetone and placing it directly on the nail. Wrap the fingertip tightly in aluminum foil to trap the body heat and speed up the chemical breakdown.
Allow the acetone to penetrate the polish for at least fifteen to twenty minutes before checking your progress. The gel should look visibly wrinkled and lift away easily with a simple wooden orange stick. If the polish remains stubborn, re-wrap the finger and wait another five minutes to protect your delicate nail bed.
Current Innovations in the Gel Polish and Professional Nail Industry
The beauty market continuously introduces new formulations to address common consumer complaints regarding long-term nail health. Builder in a Bottle, commonly known as BIAB, represents a massive shift in how a professional nail technician approaches weak nails. This thicker builder gel overlay provides exceptional structural support while allowing the natural nail to grow safely underneath.
Soft gel extensions have also gained massive popularity as a faster alternative to traditional acrylic sculpting. These full-coverage tips come pre-shaped and adhere directly to the natural nail using a specialized gel base. Technicians can apply a full set in half the time required for standard liquid and powder extensions.
Have you noticed the recent surge in highly detailed, three-dimensional nail art on social media? Technicians now use solid carving gels to sculpt intricate flowers, gems, and textures directly onto the nail surface. These advanced materials hold their shape perfectly until they pass under the LED lamp for final curing.
- BIAB formulas offer enhanced structural support that promotes healthy natural nail growth.
- Soft gel extensions provide a rapid, durable alternative to traditional acrylic application methods.
- Solid carving gels allow professional technicians to create intricate three-dimensional nail art easily.
Tips for Extending the Life of Your Professional Gel Manicure
Daily habits significantly impact how long your gel polish maintains its flawless, glossy appearance. Exposing your hands to harsh cleaning chemicals without gloves degrades the protective top coat rapidly. Always wear protective rubber gloves when washing dishes or using heavy-duty household cleaning supplies.
Hot water acts as a silent enemy to the strong adhesive bonds holding the gel to your nail plate. Long, soaking baths or extended sessions in a hot tub can cause the polish to lift prematurely. Try to keep water exposure brief, and thoroughly dry your hands and nails after washing them.
Using your fingernails as tools remains the most common reason for unexpected chips and painful breaks. Opening soda cans, scraping off labels, or prying things apart puts immense physical stress on the gel structure. Grab a designated tool instead to preserve the structural integrity of your expensive professional gel manicure.
Health and Safety Considerations for Gel Nails and UV Exposure
Regular exposure to ultraviolet light during the curing process has prompted discussions about long-term skin health. While the FDA considers nail lamps low risk, dermatologists still recommend taking basic preventative measures during your appointment. Applying a broad-spectrum sunscreen to your hands twenty minutes before curing offers excellent protection against cumulative UV exposure.
You can also purchase fingerless ultraviolet protection gloves designed specifically for use during frequent salon visits. These specialized garments block harmful rays while leaving your nail plates completely exposed for the technician. Combining these protective measures allows you to enjoy flawless manicures without worrying about premature skin aging.
Ventilation in your chosen salon plays a critical role in your overall respiratory safety during treatments. Proper airflow reduces your direct exposure to volatile organic compounds released by acetone, primers, and various nail adhesives. Look for modern salons that utilize source-capture ventilation systems directly at the manicure table for maximum protection.
Conclusion
Gel nails offer an incredibly durable and aesthetically pleasing solution for your regular beauty routine. Understanding the proper application, maintenance, and removal processes protects the structural integrity of your natural nails. By prioritizing nail health and visiting reputable technicians, you can enjoy stunning manicures safely for many years.
The nail industry will undoubtedly continue producing innovative formulas that prioritize both longevity and consumer safety. Choosing between traditional polish, acrylics, and gel systems ultimately depends on your personal lifestyle and budget constraints. Armed with this knowledge, you can approach your next salon appointment with complete confidence and absolute clarity.

